Showing posts with label Butter. Show all posts

Wednesday, February 24, 2016

Melt-in-the-mouth Buttery Butter Cookies


Well, I should say this is the type of butter cookie that is to die for. If you are looking for a cookie that is smooth, crispy and has that melt-in-the mouth magic, then you should continue reading.

I have always loved butter cookies ever since childhood.  So, how do I personally perceive a butter cookie?  To me, butter cookies just go perfectly well with a cuppa of hot coffee, especially when you are catching up with a group of close friends or relatives over tea time in a secret garden.  Doesn't that sound heavenly?

Anyway, I happened to stumble upon the recipe well not at all from a middle-aged housewife who spends most her time in the kitchen making good food for the family, neither from any popular chef who has won countless of awards nor a granny who desperately wants to pass down her secret recipe but simply from a young city chic who just has a passion creating good food!  I was completely astounded that he could (yes, it's a HE!) concoct a recipe by just knowing the ingredients.  Amazed! Amazed! Apparently, this cookie had once been a craze in Hong Kong, popularly known as Jenny Butter Cookies.  So, what is so special about this cookie, which I highly recommend that you try has to offer?

Personally, the texture of the cookie wins it all!  As mentioned earlier, it is soft yet crispy, fine and smooth, buttery and melty in the mouth.  Almost perfect!  The only flaw that I can think of right now .....it has to be handled very gently!  Why?.......it is fragile and crumbly!  Is this THE cookie you are looking for?  It's a definite YES, for me!!

    
Ingredients
(Recipe adapted from ZaTaYaYummy)
  • 150 grams (5 oz) of salted butter, softened
  • 30 grams (1/4 cup) of icing sugar
  • 95 grams (3/4 cup) of plain flour
  • 75 grams (8 tbsp.) of corn starch 
Note: 
1.  The recipe yields about 15 cookies.  You may double/triple up if 15 is insufficient.
2.  Make sure you use a high quality butter (Golden Churn, Lurpak, SCS etc etc)

Instructions
  1. Preheat oven to 150C or 130C fan-forced.
  2. Cream softened salted butter and icing sugar until light and fluffy.
  3. Stir in plain flour and cornstarch.
  4. Transfer into piping bag with a star tip. Pipe evenly onto a baking tray lined with parchment paper.
  5. Bake it in the oven for 25 to 30 minutes.

HAVE A NICE DAY AND HAPPY BAKING !!!

Wednesday, June 12, 2013

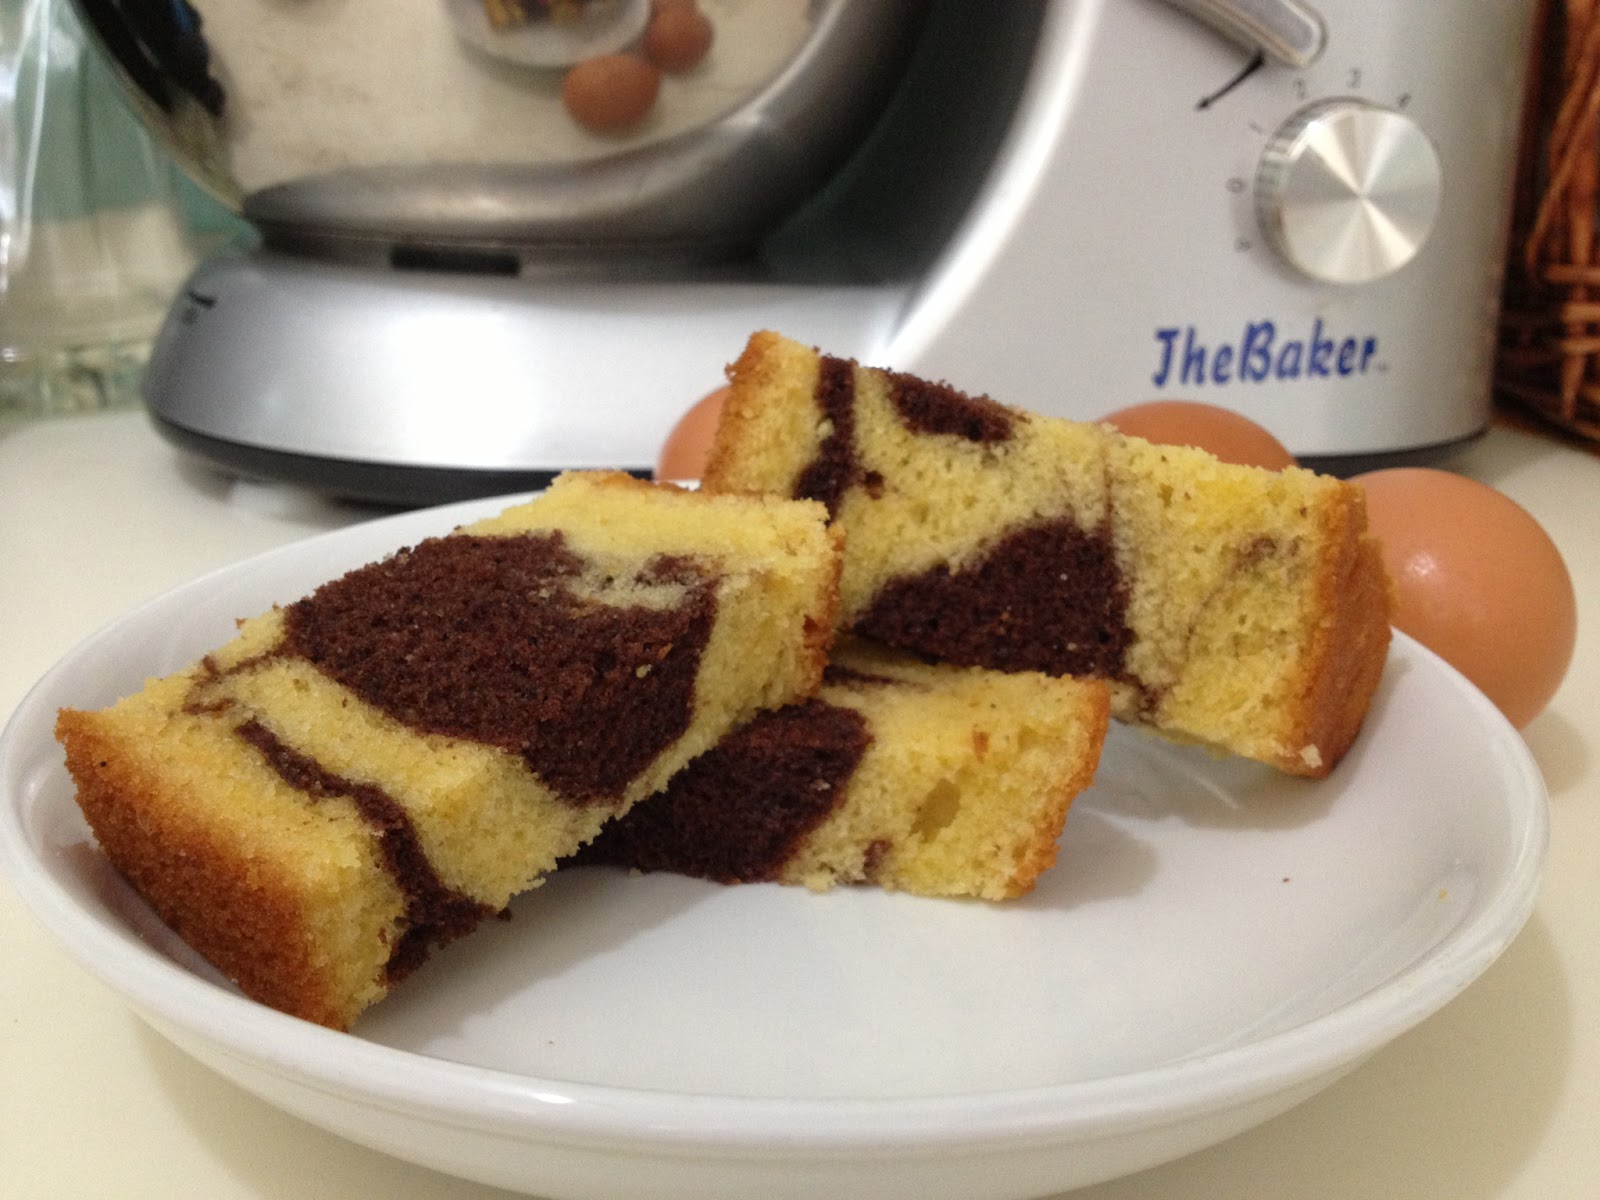
Old-fashioned Marble Cake

People often say that to be a good baker or rather to start baking, firstly one needs to at least know how to bake the very basic cake - a classic butter cake.  If you fail at this, then forget about baking!  Well, I have been baking for the past two years and sadly to say I am still struggling to get the hang of it.  Nonetheless, one thing for sure, it's definitely not the time yet for me to wave the white flag.

I have attempted baking about 5-6 rounds of this cake and of course using different types of recipes, different types of mixing methods but each time they come out of the oven, disappointments just surge in - either the top of the cake is unusually domed and badly cracked, the texture is rough and hard or the whole thing turns out too dry.  Basically, what am I looking for in a butter cake? Well, a good butter cake (to me) should have :

1. a flat top
2. the texture is fine and velvety soft
3. moist but not dense
4. the outer layer is not burnt
5. the smell emanates and invades into your neighbours' house,

and most importantly,

6. friends or relatives who try the cake must come back to you begging for the recipe!

Well, after browsing through looking for THE butter cake, I finally stumbled upon this one.  What caught my eyes was the photo of the cake with its soft fine texture sturdily standing on the plate.  Another thing that set my eyes on it and put this recipe on my 'must-bake' list is the mixing method used.     

So, here I am, giving this cake another shot!

The Recipe
(adapted from  www.thelittleteochew.com)

- 8 large eggs, separated
- 9 ozs (255g) castor sugar
- 12 ozs (340g) unsalted butter, softened
- 9 ozs (255g) all purpose flour
- 1 1/2 tsps baking powder
- 1 1/2 tsps pure vanilla extract
- 2 tbsps good quality cocoa powder
- 1/4 tsp salt

1. Preheat oven at 160°C (convection fan on) with a wire rack in the middle. Line an 8-inch round cake tin with parchment, butter and flour. Sift flour, baking powder and salt in a bowl. Set aside.

2. Cream butter in the bowl of a stand mixer fitted with the paddle attachment till light and fluffy. In a separate bowl, whisk the egg yolks with the sugar till light. Gradually add this into the butter and beat on medium speed till just incorporated. In a separate bowl, whisk the egg whites till stiff peaks form. With a spatula, fold in the meringue into the egg yolk mixture in 3-4 batches*. Add in the dry ingredients gradually until just incorporated.
* The first time I added the egg whites, it was impossible to fold. What I did was just mix it up with the thick yolk batter and "loosen up" the batter. The subsequent batches were much easier. I folded the whites in 3 batches.

3. Scoop out 1/4* of the batter in a separate bowl. Sieve cocoa powder over it and fold to mix well. Pour batters into tin, alternating between the two mixtures. Start with the yellow batter and end with the cocoa mixture. Rap pan on counter several times to eliminate air bubbles. With a long skewer, swirl (sparingly) around the batter to create the marble effect. Bake for 40-55 minutes or until a tester inserted into the middle of the cake comes out clean.
* This is somewhat arbitrary. A little more won't hurt, especially if you want a bit more chocolate in your cake! :)