Showing posts with label fluffy. Show all posts

Thursday, August 21, 2014

Fluffy Pancake


If you are looking for a light, soft and fluffy pancake, then this recipe will win you over.  Though I am not a fan of pancakes, I do crave for it once in a blue moon.   I have tried making it once but wasn't really satisfied with the outcome.  They turned out a little rubbery and compact.  But this recipe gives you a really soft and light texture that it easily absorbs anything that is spread and drizzled on be it butter, honey or syrup.

One thing that I like about this recipe is that it uses the egg separation method.  Egg whites and egg yolks are beaten separately and this eventually makes the pancake light and fluffy.  A drizzle of any kind of syrup (for me I like maple syrup best) or even honey is just what you need to complete everything and to brighten your day.      


Well, just a little bit of sharing....I have learnt the following tips in order to make a good pancake : 

  1. Never over-flip your pancake so that you can get a fluffy pancake.  Over-flipping will just deflate the pancake.
  2. To know when exactly you need to flip the pancake is to wait for the bubbles to form in the centre and then burst.
  3. Always apply oil to the pan with wadded paper towels.  This is necessary to avoid  uneven cooking.  If you pour oil directly into the pan, in may pool in some areas while leaving other parts of the pan dry.  The uneven cooking will cause the flapjacks to burn in some areas and undercook in others.  
  4. Once the pancake is cooking on the pan, give it some space. Do your best not to shake the pan or move the batter -- this will hinder the pancake from rising properly.

If you wanna try making your own pancakes, here's the recipe, adapted from Edith of Rumbling Tummy.  Till then, have a great day ahead!

Ingredients:

280g plain flour
8g baking powder
78g castor sugar
½ tsp salt
3 egg, separated
1.5 cup milk
85g melted unsalted butter
1 tsp vanilla


Method:
  1. Sift flour and baking powder. Add sugar and salt together into a large bowl.
  2. Whisk yolks, milk, melted butter and vanilla together.
  3. Whisk wet mixture into the dry mixture. Should be slightly lumpy.
  4. Whip the egg white until medium peak. Not stiff. Do not over whip the egg whites.
  5. Gently fold in half of the egg white into the egg batter with a large spatula. Then gently fold in the remaining egg white.
  6. The batter should be slightly lumpy and have large parts of the egg whites not fully incorporated.
  7. Heat pan and add 1 tsp butter. With a fat ladle, scoop the batter and pour into the hot pan.
  8. Flip over once brown to cook the other side.
Serve warm.

Happy trying!


Saturday, August 2, 2014

Soft Fluffy Orange Cake


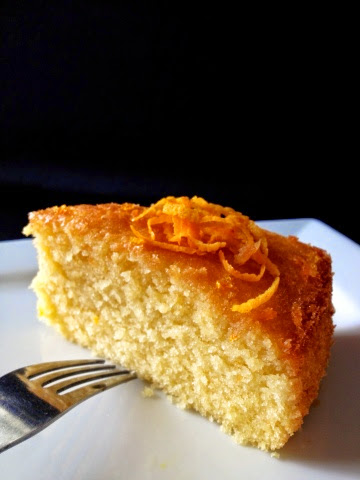
I have been making orange cakes several times and this recipe is by far the best and the most satisfying one.

I whipped this cake when we had our sibling get-together session on the first day of Hari Raya Aidilfitri.  We have not been meeting each other for almost three months. Since the meet up was arranged during tea time at mom's house, I was thinking that perhaps a simple homemade cake would just go perfect with a cup of hot coffee.

Coincidentally, I stumbled upon this amazing recipe on Google+ while waiting for my sister's call.  I could not exactly recall what attracted me to this recipe but all I knew, this could be THE  recipe I was looking for and before I could say anything further, I was already in the kitchen whipping my magic.

Thankfully, everything turned out well and I was absolutely pleased with the results.  The cake rose and baked beautifully in the oven.  For the first time ever, in my baking history - No domed shape!  No cracked top!  No over-burned top!  What came out was - a soft, moist and fluffy little sweet treat, all ready to wow me and the entire family.


True enough, the cake was a winner that afternoon.  In fact, it's always a bliss to eat a cake while it's still warm, soft and fluffy.  That could be the reason everyone was going around ooh and ahh and subsequently complementing me and my wife.  Wait a minute, my WIFE?  What has she got to do with the cake?  Actually, what they meant was....."you are damn lucky to have such an amazing husband."  LOL!  Well, to me it was THE RECIPE that made me so-called AMAZING, okay!  I - JUST - FOLLOW! 

So, my dear friends, if you wanna be as AMAZING as I am, then FOLLOW the recipe below....(hehehe!)


The Recipe:
(adapted from Monica of  Lick The Bowl Good)

Note : For this recipe, I have reduced the amount of sugar both in the cake and in the orange glaze.  I find the sugar used in the orange glaze was a little crazy.

Cake:
  • 1 cup (2 sticks/about 230g) unsalted butter, room temp.
  • 1 cup granulated sugar (I reduced to 3/4 cup)
  • 4 eggs, room temp.
  • 1 1/2 tsp. grated orange zest
  • 2 cups all purpose flour
  • 1 Tbsp. baking powder
  • 1 tsp. salt
  • 7 Tbsp. fresh squeezed orange juice
Glaze:
  • 2 cups powdered sugar (I reduced to 1 cup)
  • 3 Tbsp. fresh squeezed orange juice
  • 1 tsp orange zest
The Method:
  1. Heat the oven to 350F. Butter a 9-inch cake pan and line the bottom with parchment paper. 
  2. Then butter the paper and set aside.
  3. Cream the butter and sugar well, until it is very pale and thick - this will take quite a while.
  4. Add the eggs one by one, beating well after each addition, then add the zest. Add the flour, baking powder and salt all at once, and beat well, then slowly add the orange juice until it is incorporated.
  5. Pour the batter into the prepared cake tin, and bake for 35-40 minutes - or until an inserted skewer comes out clean (slow is best, so don' t be afraid to cook it longer. If it starts to brown too much on the top, cover loosely with a sheet of buttered foil.)
  6. Allow cake to cool in pan for 15-20 minutes on a wire rack. Then invert onto a plate, remove the parchment paper and allow to cool completely before glazing.
  7. To make the icing, stir the orange juice into the icing sugar until you have the right spreading consistency. 
  8. Pour the icing onto the cake and spread with a spatula or butter knife, allowing the icing to drip down the sides of the cake.
  9. Leave the icing to set before cutting the cake into wedges or storing in an airtight container.

NOTE (from Monica) : I thought the glaze was rather sweet and needed more orange flavor so I suggest adding some grated orange zest to the glaze for more intense flavor.


Friday, September 6, 2013

Super Soft Fluffy Bread


If you are overly crazy for soft cottony bread (well, not everybody loves soft bread, some just like it chewy), this recipe could be a keeper and worth bookmarking, thanks to Wendy of Table for 2....or more. 

I was raking my brain last weekend thinking of what to do or rather what to cook to fill my glorious Sunday when suddenly out of nowhere the idea of bread making struck me. Hey, why not? After all, I have been yearning and dying to make one my own. I have never personally experienced playing around with yeast and witness (well at close range) how this microorganism affects the dough. I have always admired with envy how bakeries make such soft fluffy breads.  To me, only bakeries would be able to make that, definitely not amateur like me until I read somewhere that any Tom Dick and Harry can make good bread, of course if given a good recipe.

All excited, I hunted for the recipes through the net.  Among the lot, I finally chose Wendy's, simply for the fact that she presented it in such a straightforward easy-to-follow manner.  Also, her recipe called for coffee creamer.  That sounded unique to me. The last thing was she boldly described her breads as 'wonderfully soft'. Oh, how on earth could I resist that??

So, after breakfast that Sunday, off I went driving around Malacca town, 'chaperoned' by my wife, son and daughter hunting for the ingredients.  Sad to say, not all supermarkets in Malacca sell bread flour.  Seemed that I might have to get it from a cake ingredient shop.  Again, not all shops are open on a Sunday.  Grrrr!  Frustration set in.  At last, I managed to get it from Yami Bake House. When I asked for bread flour, the lady boss was kind enough to recommend me Japanese high protein bread flour.  When I asked her for the differences (between this and the normal bread flour), she was again kind enough to share her knowledge, at great length.  She went on and on so willingly until I was lost and could not make head or tail of what she was rattling about.  Reason?  It was all in Mandarin!!  But one thing I could make out for sure, the flour is presumably much better!!

At home, I checked all the ingredients needed and I soon realized, hey where's the coffee creamer??  I don't store creamer at home.  Cleverly, I scavenged the kitchen drawers and to my delight, I saw quite a few plastic bags containing sachets of sugar, coffee, tea, cereal including creamer.  There were loads of them, all in different colours and logos.  Wow!  What a great collection!  Ahh, to all you ladies out there, especially Asian Chinese, stop pretending!  I'm sure you know what I mean here, in particular where those things might have come from!  I took many sachets with all of them bearing a big yellow 'M' on it.  Whatever it is, thanks to my wife for saving the day!


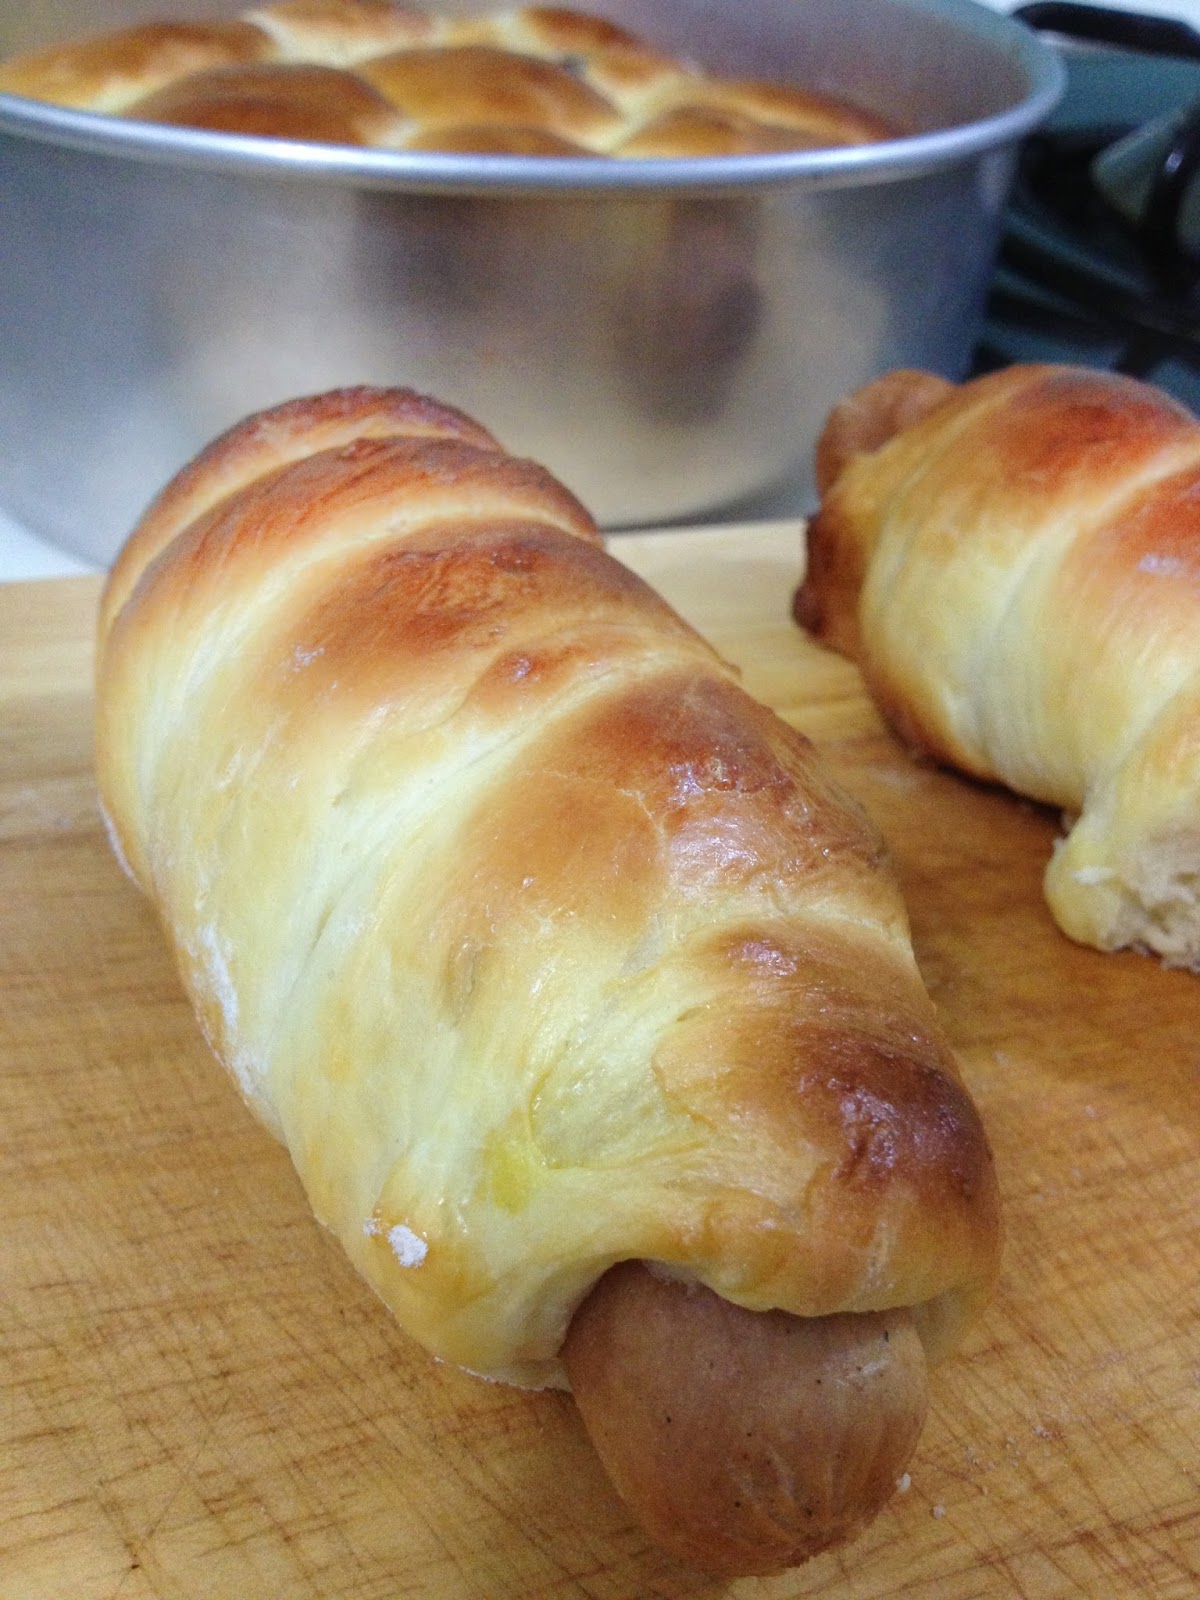
So, the remaining process of the bread making experience was pretty easy and smooth sailing especially with the dough proofing very beautifully.  The end result was satisfying too. The bread was really fluffy and as what Wendy had described it - wonderfully soft!  

However, one setback was the dough gave out quite a strong unpleasant 'yeasty' smell that freaked my son out.  As expected, he just stayed away from the kitchen for a while and dared not taste the bread.  $#%$@#!!!  The whole house smelled like unwashed shoes and stinky socks.  Then, I checked out in the net and discovered that I could have overproofed the dough.  Eerrm, is it true?  Well, it could be because apparently I had left it sit for more than 4 hours while I went out shopping.  The second setback, I had overbaked the bread just a little too long causing some to be slightly burnt.  However I tried to edit the 'burnt' photos with my photo editor application, the effort was just futile. 


Sigh!!  Never mind-lah, first time!  So, here goes the recipe.....

The Ingredients:

(A) 
310 bread flour (I used high protein bread flour)
60g  cake flour
40g coffee creamer (coffeemate)
70g sugar
2 tsp instant yeast


(B)
115g  milk
1 egg
2 egg yolks

(C)
1/3 tsp salt
40g butter

(D)
1/2 egg mixed with 1 tsp water

Method:
1. Combine (A) together.  Mix it around to combine. 
2. Combine (B), pour into (A) and knead to form a dough.
3. Put (C) into the dough and knead until a smooth dough is formed 
    (I gave this a 15 min knead by hand)
4. Cover the dough and let it proof until it doubles in size
5. Punch down and knead for another 1 minute.
6. Divide dough into 50 or 60g pieces each. 
7. Wrap each piece of dough with preferred fillings
8 Let dough proof until double again and brush (D).  Bake in a preheated oven at 170/190C for 15 
   minutes or until golden brain. 


 HAPPY BAKING!!